Category Archives: Dollhouse

Cheep, cheep!

IMG_9213

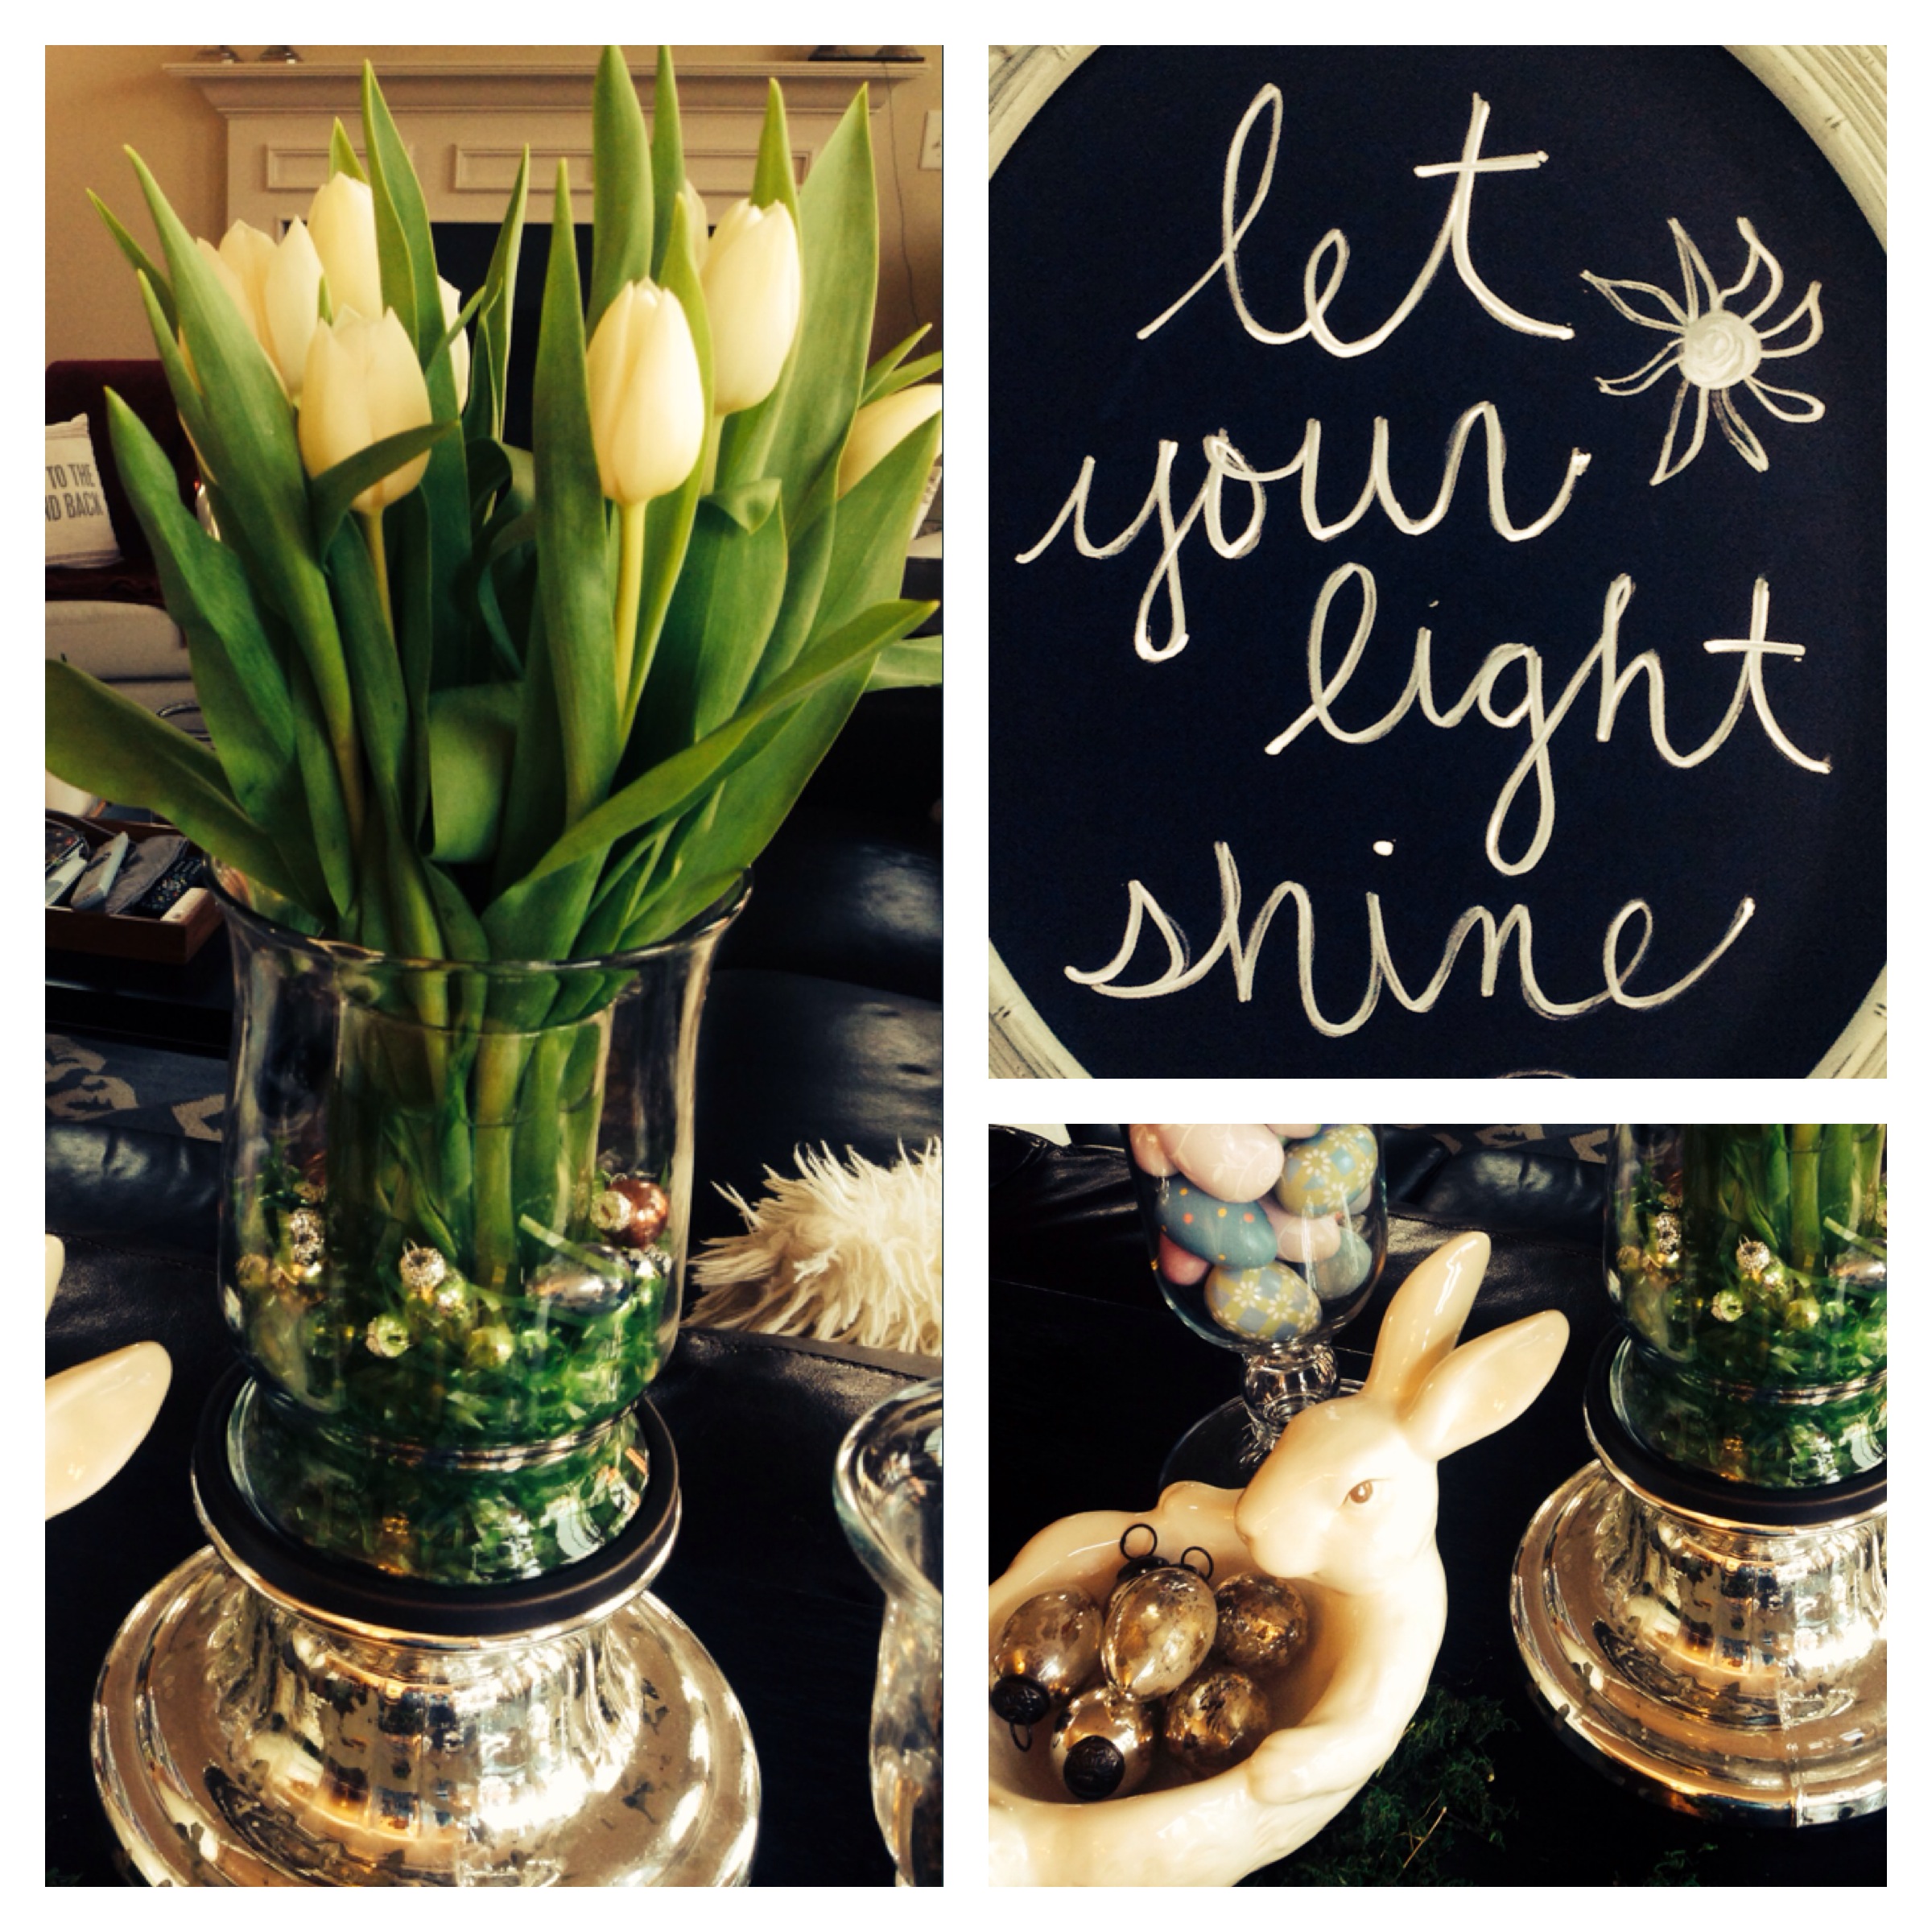
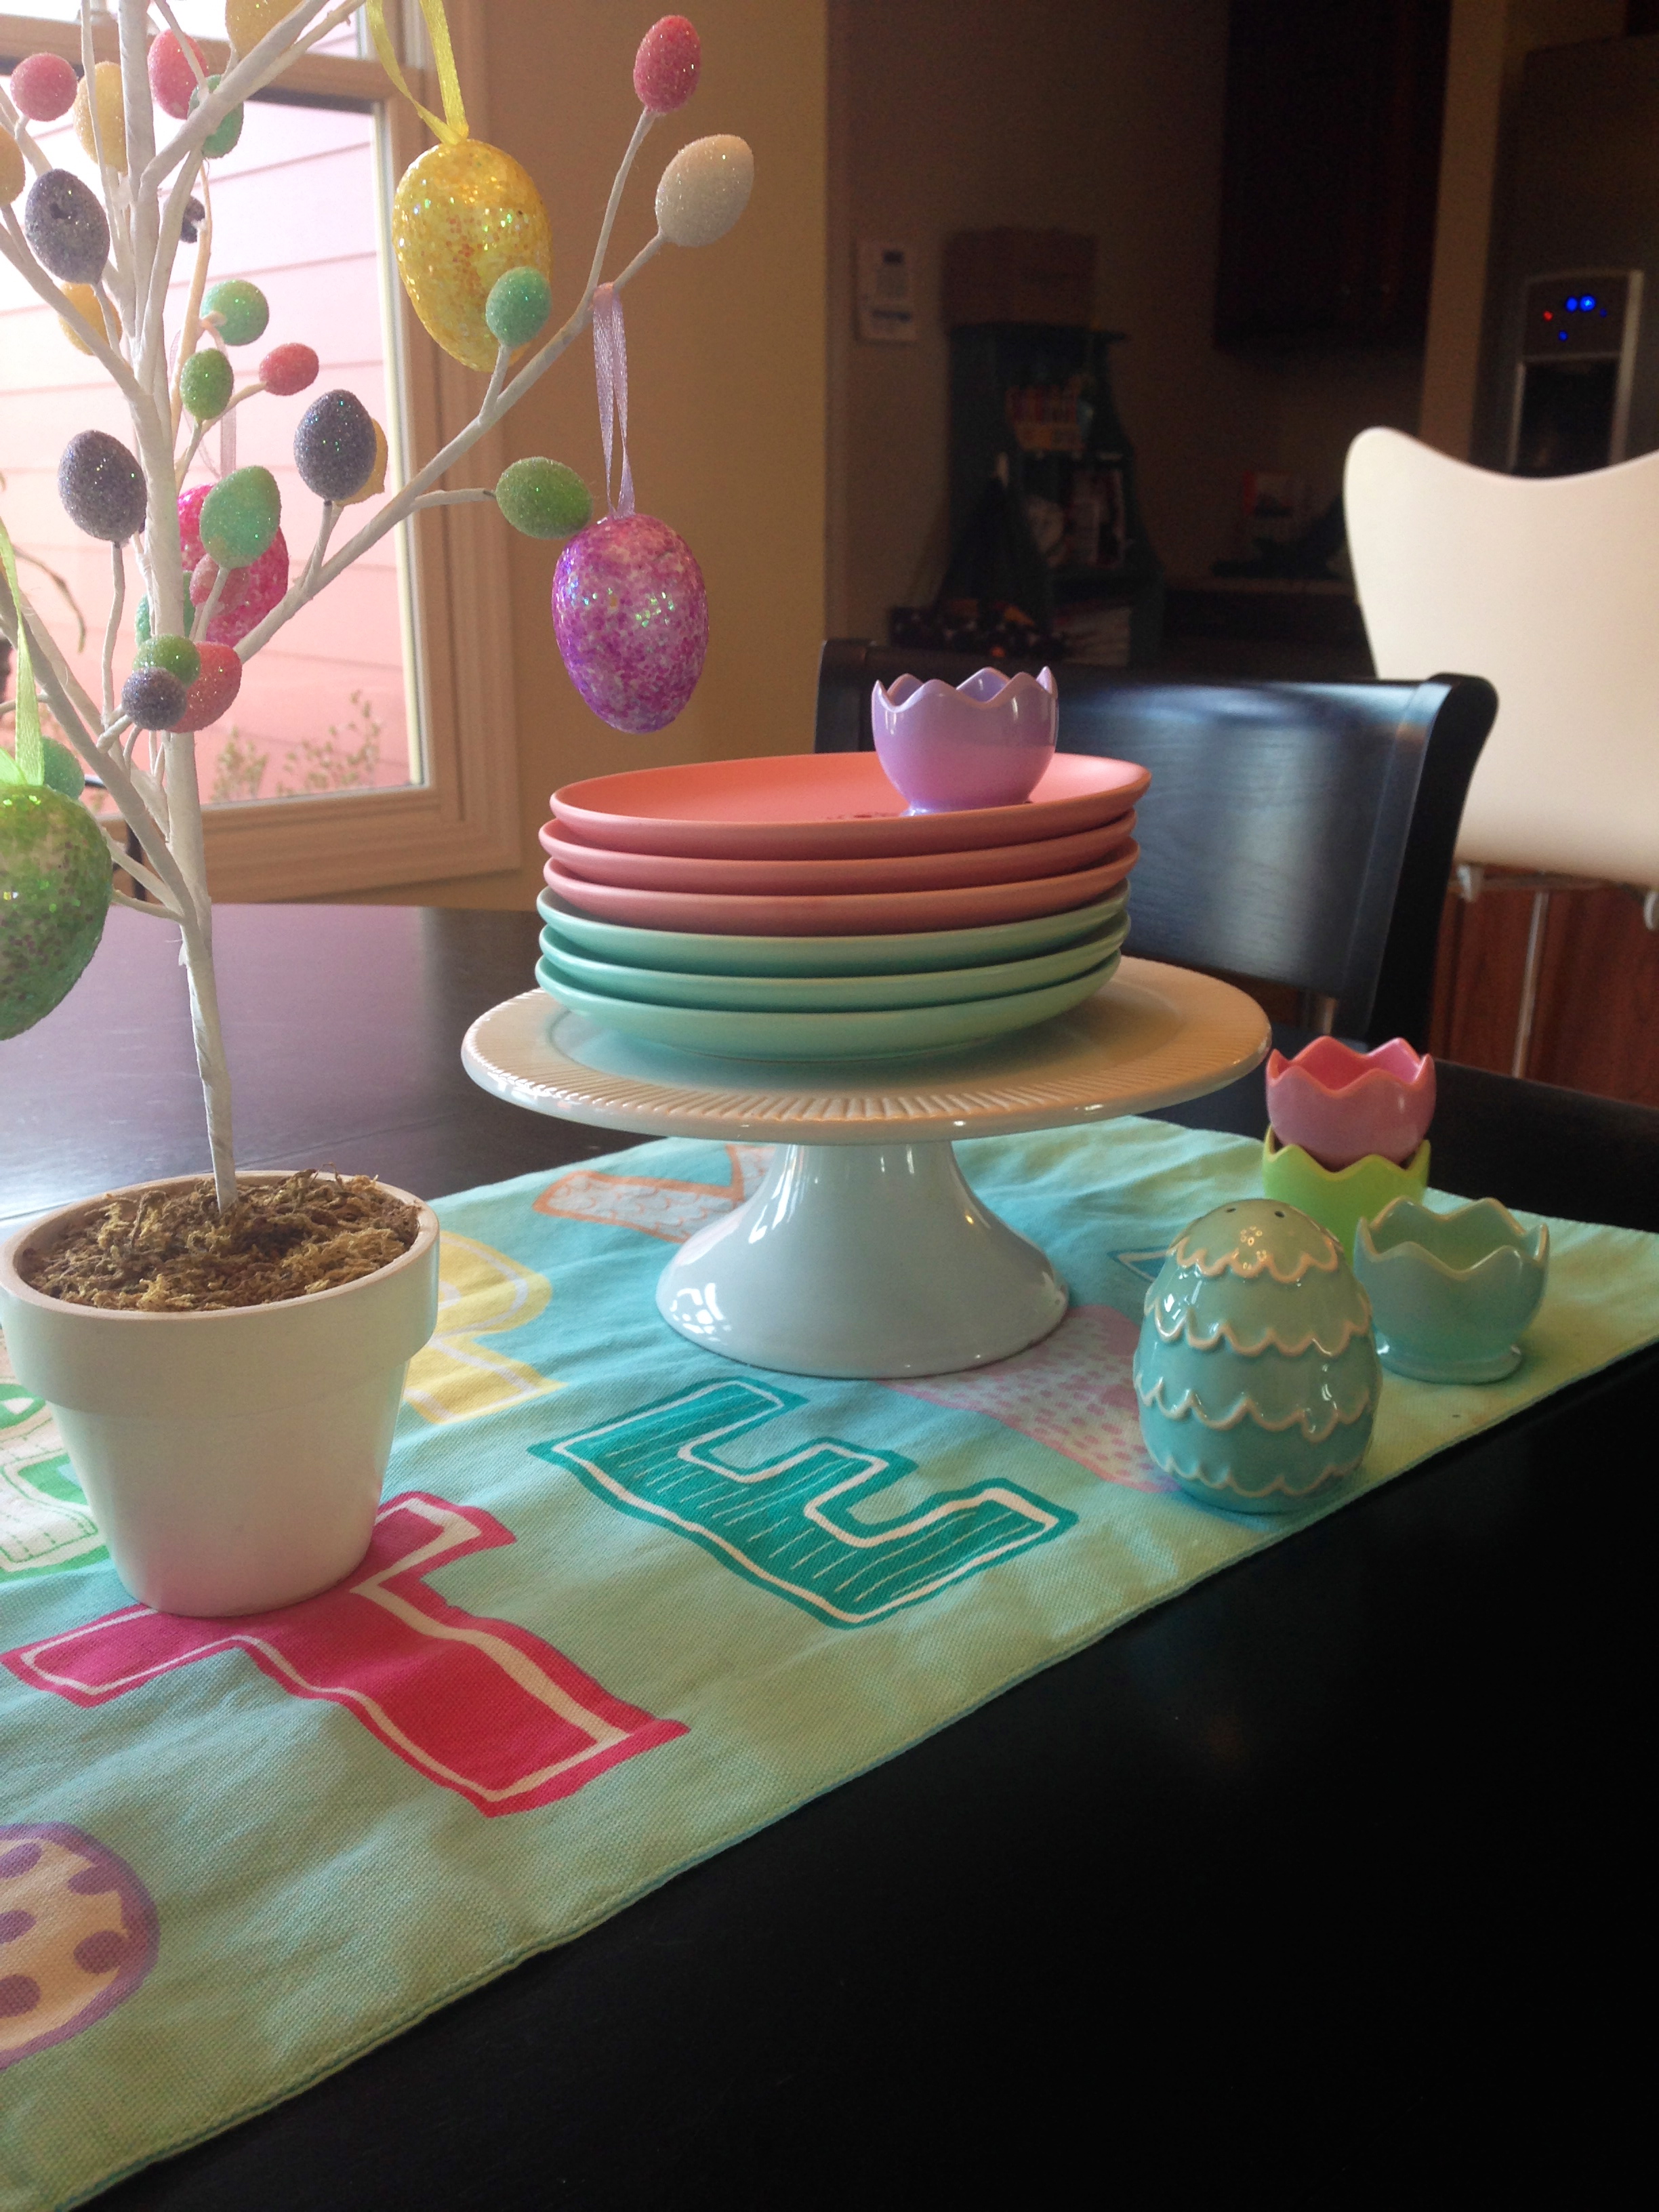
It’s starting to look like Easter around here! I admittedly don’t decorate as much for Easter as other holidays, but I adore tulips and bringing in some springtime decorations!

We’ve also brought in 2 new baby chicks. Each boy has their own and as family we are learning to take care of these adorable new pets.
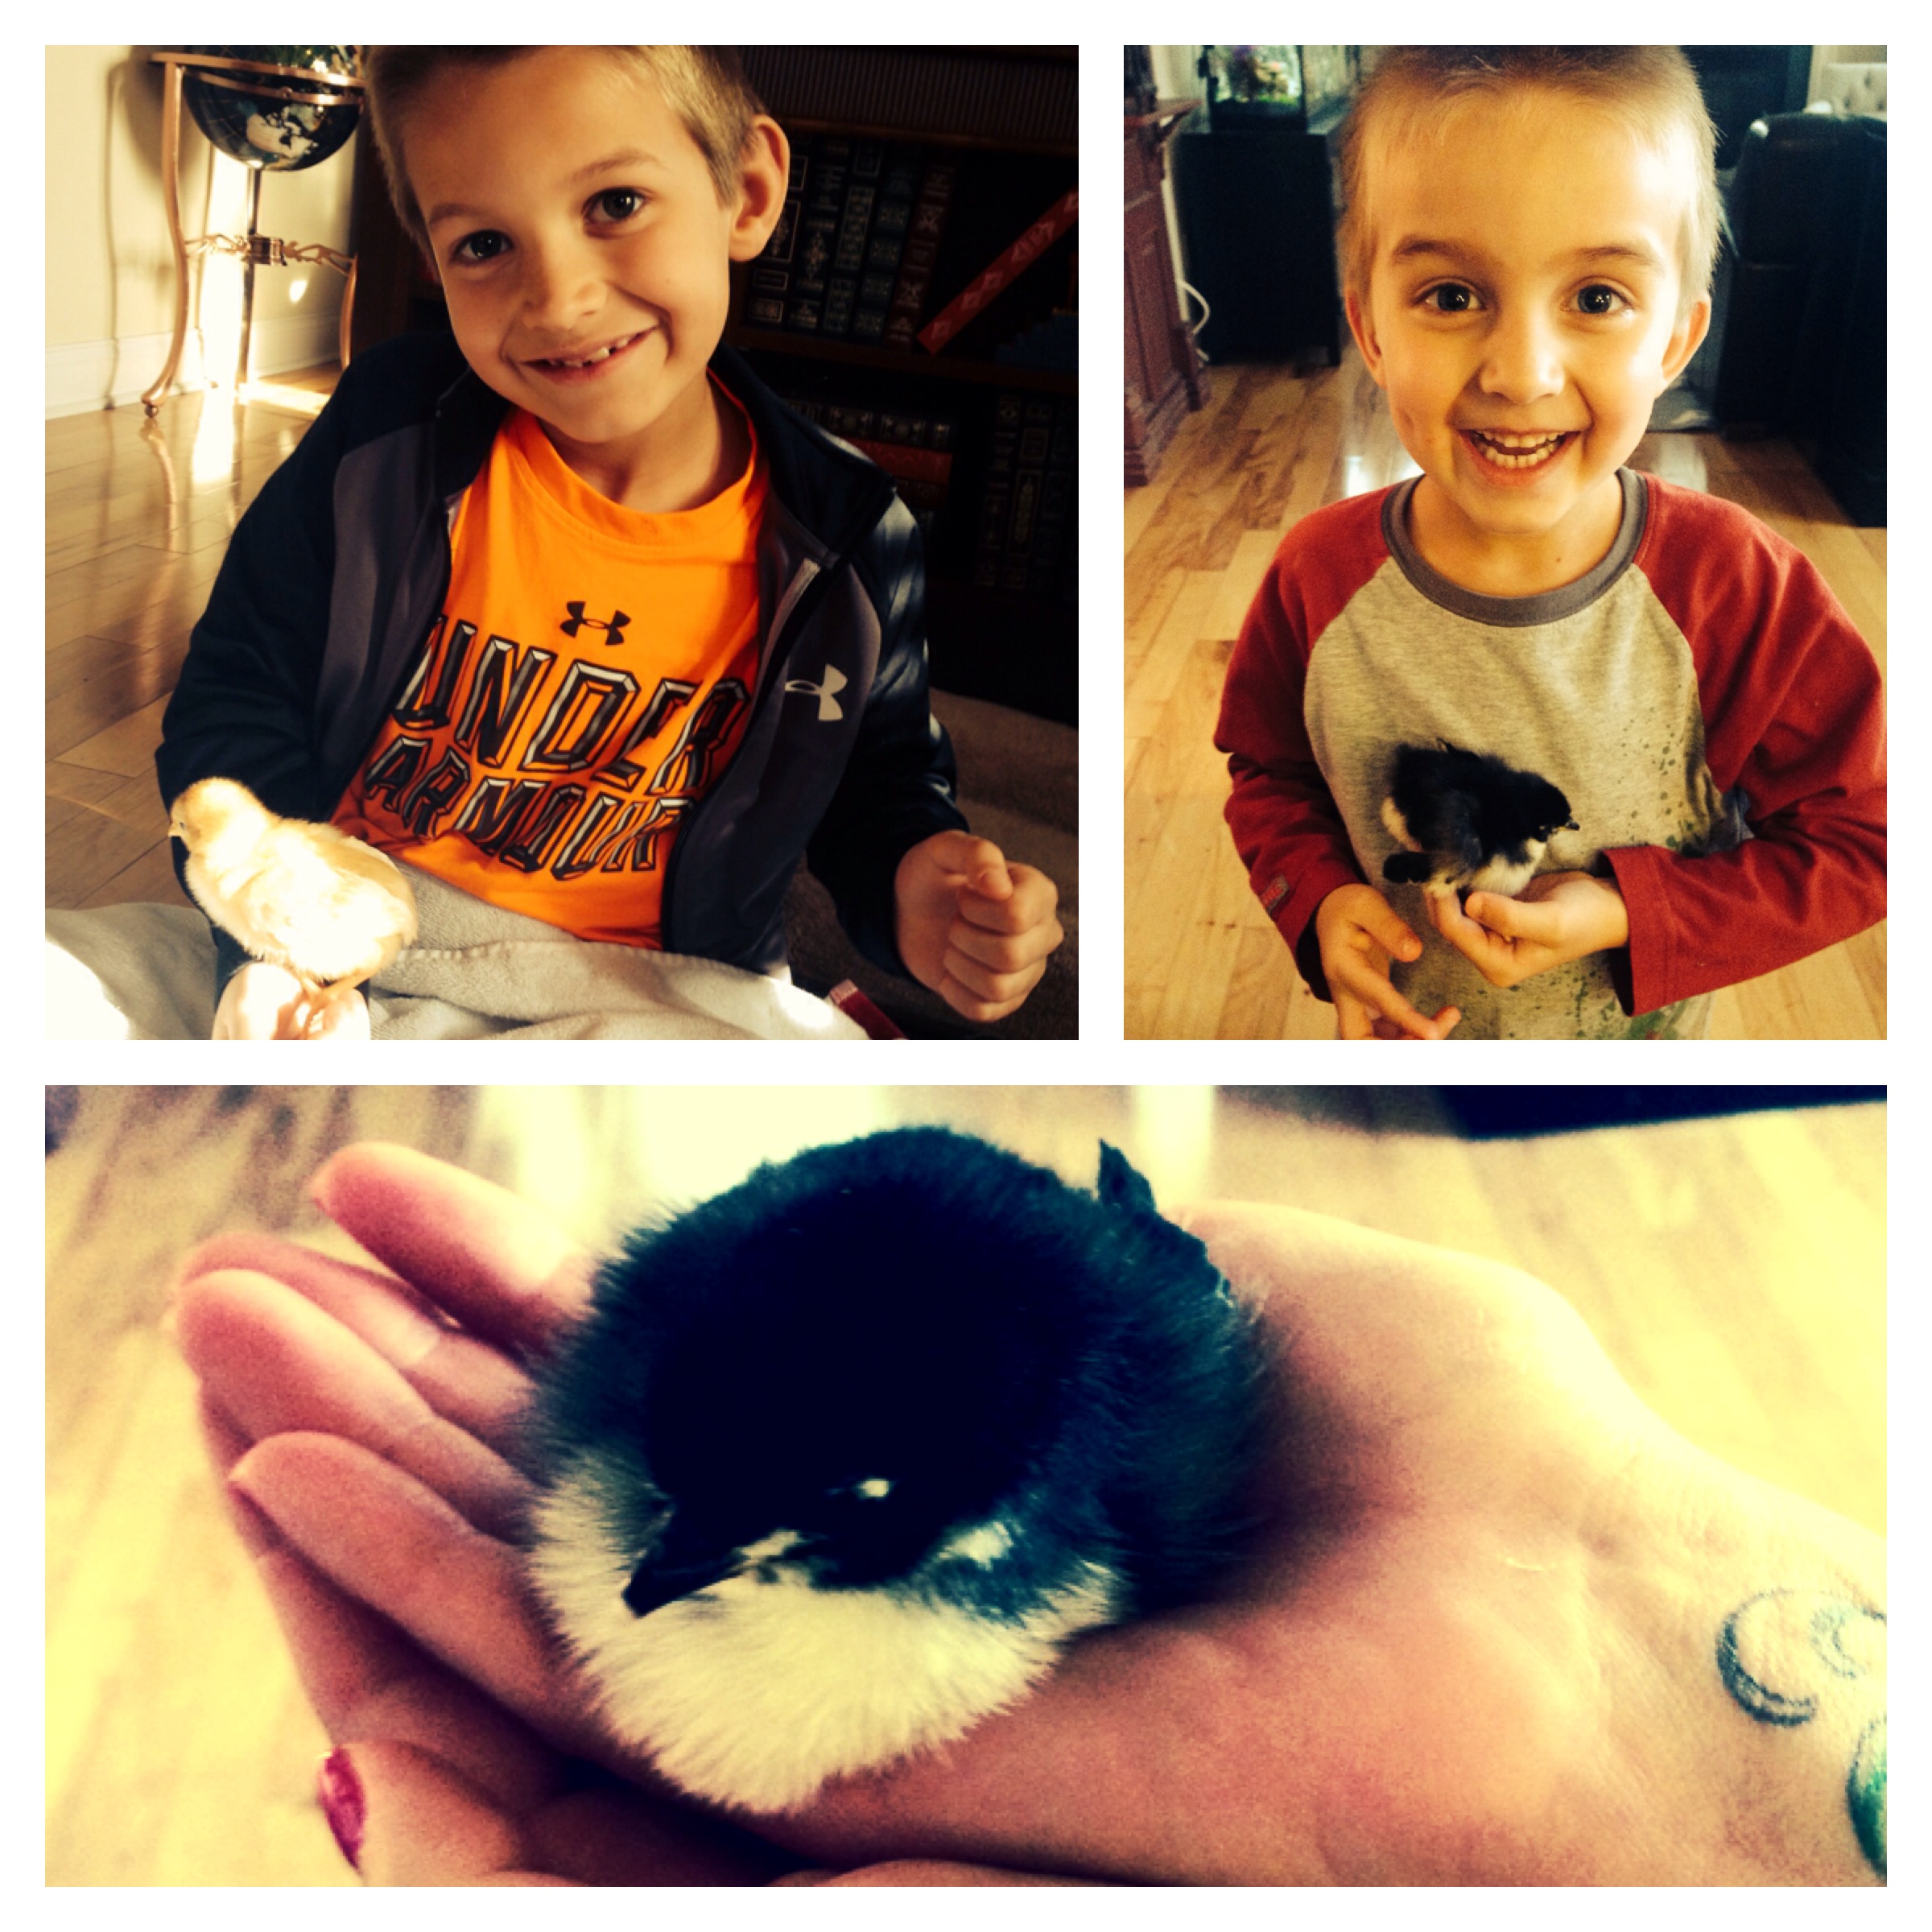
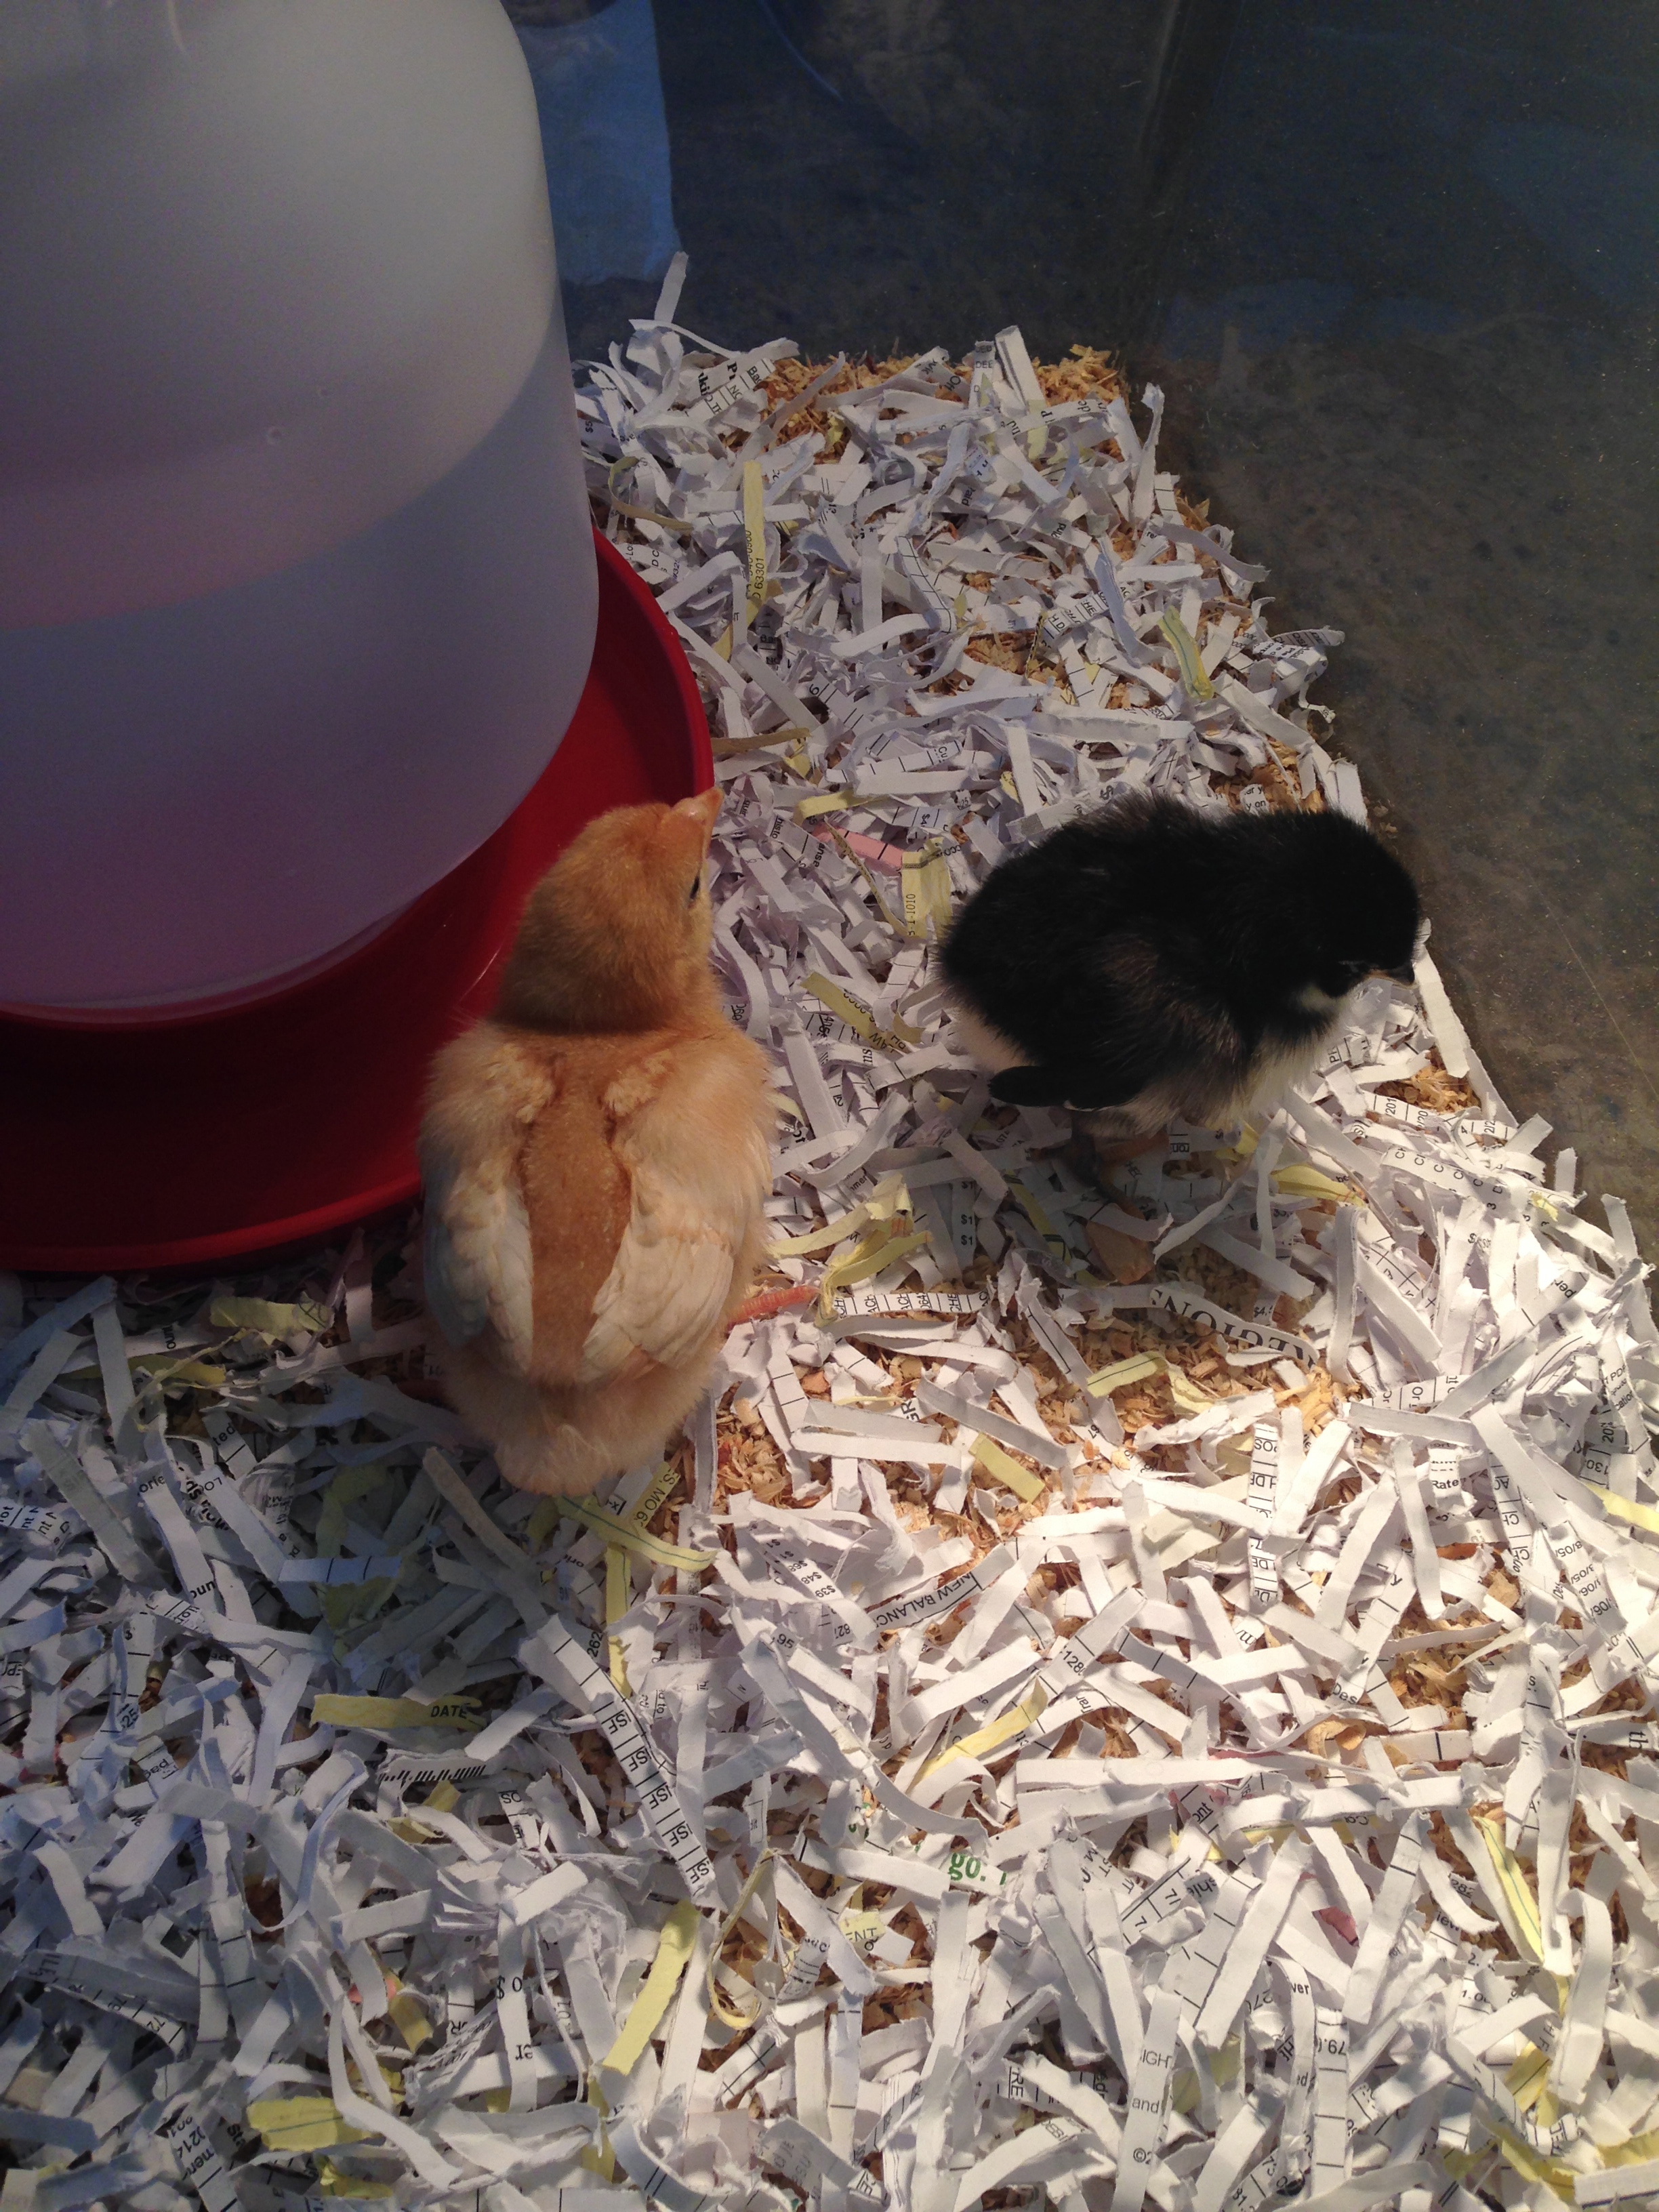
IMG_9021IMG_9214

IMG_9038IMG_9014IMG_9219IMG_9195

KoyoteKate_LogoP.S. Please don’t bring in any baby animals into your family unless you’re willing to take care of them in adulthood.

Heartfelt

IMG_7570My boys LOVE giving homemade treats to their classmates but our school has some rules so it’s got to be simple. Plus, I didn’t want to give any sugar-filled goodies. Enter: the long thread. She posted the cutest little heart crayons. Check out her post for detailed instructions. I didn’t attach the hearts as she did but rather had my boys write a little note on the card and then placed the card and heart crayon in a little cello bag found here. Viola! Homemade Valentine’s Day cards.

IMG_7566IMG_7569KoyoteKate_Logo


I’ll Be Home For Christmas!

Here’s a little peak at our dollhouse all decorated for Christmas!

Very simple table – I love the little LUSH snowmen that are uncharacteristic for the kitchen but they smell amazing. IMG_7187

Vintage buffet table – I like to change the wall photo display depending on the season. Currently it’s Christmas photos from last year.IMG_7160

IMG_7168

Little tree in my officeIMG_7166

Above my deskIMG_7072

Bottom of my stairsIMG_7178

Another vintage table in the living room IMG_7176

KoyoteKate_Logo


Zumba Christmas Ornaments

Image

To show appreciation to my students I made them Zumba ornaments this year. Even if the zumba guy doesn’t appeal to you, maybe it can inspire another idea.

I started out using a sharpie paint pen and free handed the zumba guy. Next I used a glue pen and traced just on the inside of the black. I sprinkled with glitter and then wrapped up for giving.

Image

I made almost 100 of them.

Image

ImageHope you are having a happy holiday season. XOxo

KoyoteKate_Logo

The Happiness Project: Children Memory Boxes

Image

I’m starting a new series…. The Happiness Project. When we moved into our house I was 9 months pregnant. The biggest worry I had at the time was getting my 2 year old’s room and the nursery ready before having the baby. Everything else got shoved into a little corner here or there to be sorted through when I had more time. And now, 5 years later all that junk is still there. It pains me (even if it’s just a little) when I see those little unorganized, how do I even start spaces. Sound Familiar?

I’ve started several new little projects that make up my whole Happiness Project and this is the first one I completed…Memory Boxes for my boys. It’s pretty laughable how many papers and items of theirs I had spread around the house for me to attend to never someday . Well, that someday was today and when I really got down to it it didn’t take very long. I purchased file boxes and hanging folders at Office Depot and labeled each folder: baby info. preschool, primary, 1st grade, etc. I also used a sharpie and stencils to label the boxes with each of the boys’ names. (I think vinyl letters would be way cool too!) I’m storing them in my office for right now to easily access them when I get new papers to add. Not sure if they’ll stay there but believe me I’m already feeling happier knowing that I got all my boys’ papers together and hopefully one day they will enjoy going through them with me.

Image

Image

KoyoteKate_Logo

Halloween decorations inspired by Pottery Barn

I LOVE holidays, especially Halloween. I try to decorate a little different every year. And this year, I was inspired by Pottery Barn’s spooky theme (lots of skulls, body parts, and snakes).

IMG_5968

I was able to find silver glitter spray, small and medium size skulls at Walmart. Target also had the medium size skulls. I simply took them to my backyard and spray painted them a fun sparkly silver.

IMG_5861

I added a few bought items (towels used as cloth napkins from Target and tombstone vase filler from Oriental Trading Company) to ones I already had and created a feastive table setting.

IMG_5864

IMG_5866Also borrowing a couple snakes from my son to create a spooky vase.

IMG_5963Some of the skulls I did not paint and instead added spanish moss and sand to create more of the “lost at sea” look.

IMG_5870Hope you enjoyed a little look into our Halloween decorations. How did you decorate?KoyoteKate_Logo

DIY Burlap Fall Wreath

I wanted a large fall wreath for my front door but while searching I couldn’t find exactly what I wanted. So…I decided to make one.

Image

Everything used to make the wreath was bought at Michael’s. Supplies needed:

  • burlap (I used 4 rolls)
  • flowers
  • ribbon
  • large letter
  • wire (or pipe cleaners)
  • wire cutter (not pictured)
  • wreath hanger
  • wire wreath frame (not pictured)
  • fabri-tac (not pictured)

Image

The first step is create the burlap wreath. I cut the wire into 3 inch pieces. Using 1 piece of wire I attached the burlap to the wire frame.

Image

Without cutting the burlap, I then looped about 6 inches of burlap and secured it with another 3 inch piece of wire. I continued doing this till the roll was used and then started on another.

Image

The final step was the add all the pretties. I used Fabri-Tac to glue the flowers, ribbon, and letter directly to the burlap. I just love the look of it on my front door!

Image

KoyoteKate_Logo